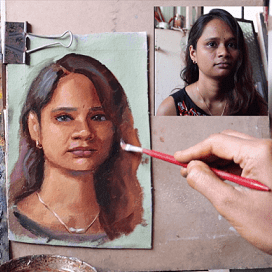
This is the process of my alla prima portrait painting study from life. This is how I do a portrait study from life, this article will be from the alla prima technique point of view, meaning this article does not emphasize on the colors or the mixture of colors. The emphasis is more on the technique and how I execute alla prima, meaning it focuses more on the consistency, liquidity and the flow of the paint mixture, paint and the use of linseed oil.
Alla prima painting for portrait: Step 1 – Wetting the canvas
This is an important step, you have to start your painting by wetting the canvas with linseed oil. Use a dry tissue to remove the excessive oil. We do not want the oil to running all over, by treating the canvas with oil, we just want to ensure lubrication. The friction will be less and it will be easy for your brush to run smoothly on your canvas.
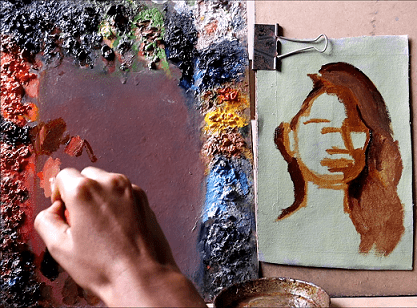
Alla prima painting for portrait: Step 2 – Outline of the portrait
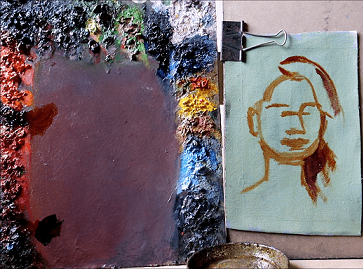
I am creating a rough outline of my reference of my muse/model on my canvas using burnt sienna. The reason why I use Burnt sienna is because this particular oil paint is mostly transparent to semi-transparent in nature. And also it is close to the skin tone, so it would easily merge with the rest of the colors later. I am wetting my brush with linseed oil and when the paint in fluid in nature, I use that fluidity to create an outline on my canvas.
Alla prima painting for portrait: Step 3 – Creating a demarcation on the canvas
Now I am marking my presence and absence of light on the canvas. We are doing a rough study, so we are taking it as gradually as possible. This would help us decide the values as we keep moving forward with the process. Now for this, I would like the mixture to be semi-fluid in nature.
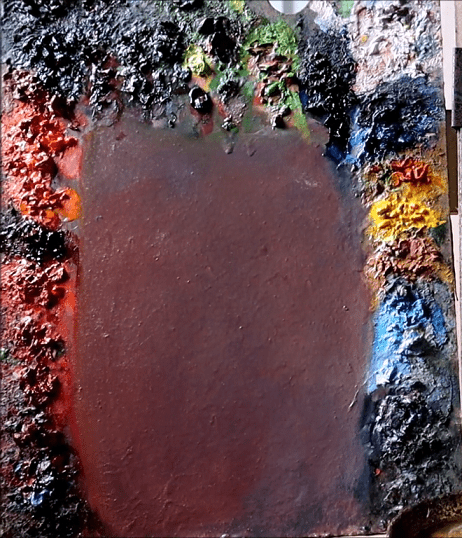
Alla prima painting for portrait: Step 4 – Application of midtone
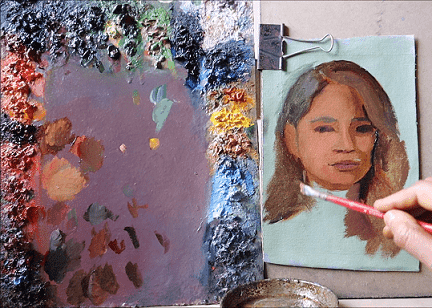
It is very important to create a midtone and fill the canvas with this color. Why is this step vital ? For the first reason, that I like my canvas to have a lot of oil painting coat on it. Secondly, this will guide me to chose my values on the presence and absence of light zones. Thirdly I like to go by the order from light to dark values on canvas than going in the reverse.
If you are likely to apply dark colors first, you will be caught in a zone. It would become difficult for you to create the values on the presence of light zone. Thereby your painting will be struck within a particular value zone, so your painting may look dark and dull.
Alla prima painting for portrait: Step 5 – Strengthening features & building layers
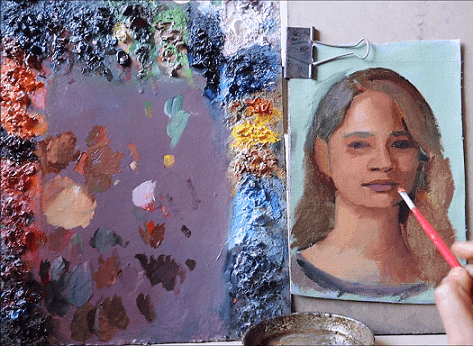
In this step, what I am going to do is strengthen, tighten and define all the facial features of my subject. How do I do that, I combine one color with the other color (mostly strong dark colors) and just take a thick lump of it and apply using my brush. Only when I take a lump of the color, I will be able to apply it on my canvas and define my features clearly.
Also I am creating a few layers over the midtone on the presence and absence of light zones accordingly. This helps me to move on to the next step.
Alla prima painting for portrait: Step 6 – Highlighting the portrait
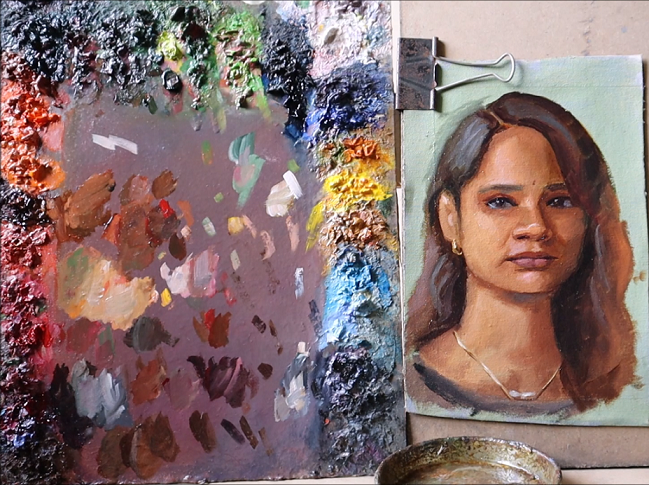
As a final step, I will be applying highlight allover the portrait. I will be selecting the spots of highlight before applying my highlight. The highlight should be applied on all the features. I also select the spots on the face such as the forehead, nose, chin and cheek where I create a highlight zone in order to merge the rest of the skin with the highlight and then as a last step, I will be creating a sharp highlight on the portrait. Sharp highlights are very vital in creating the hyper realism effect.
Again, for this technique I would combine my paints and create a mixture without taking the help of linseed oil. Because I want my mixture to be all strong and thick.
Things that you should know before starting an alla prima oil painting
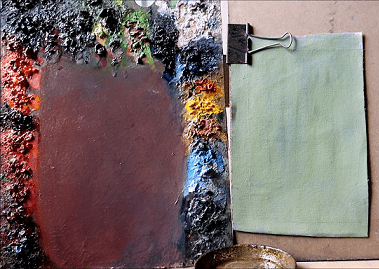
Do I prepare my pallete for alla prima painting for portrait?
I am a naturalist. What I do is I select a few oil paints depending on the subject and load them on my palette. The beauty of alla prima is to allow yourself and your mind to experiment. So for me the whole experiment should start from scratch. So I do not like to keep a few values ready in advance.
Should I prepare my canvas for alla prima painting for portrait?
Canvas preparation is a must for any painting be it. My canvas preparation is pretty specific. I apply two layers of primer and 2 layers of gesso and then treat my canvas with a layer of oil painting. This is a gist of my canvas preparation. However I have written a detailed article on how to prepare a canvas for oil painting.
Do I do a rough layout on canvas before I start off with the alla prima painting?